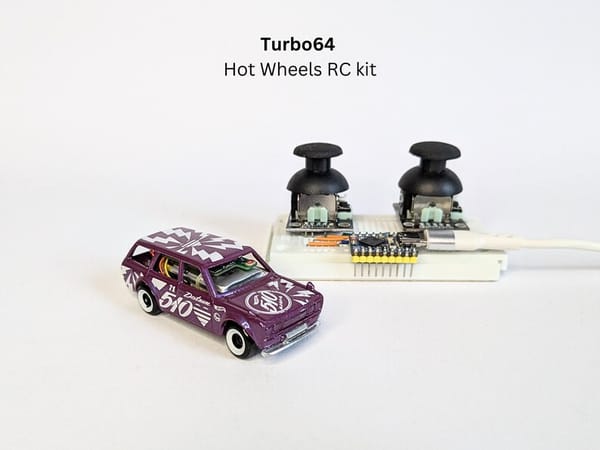
How to Convert Hot Wheels into RC Cars
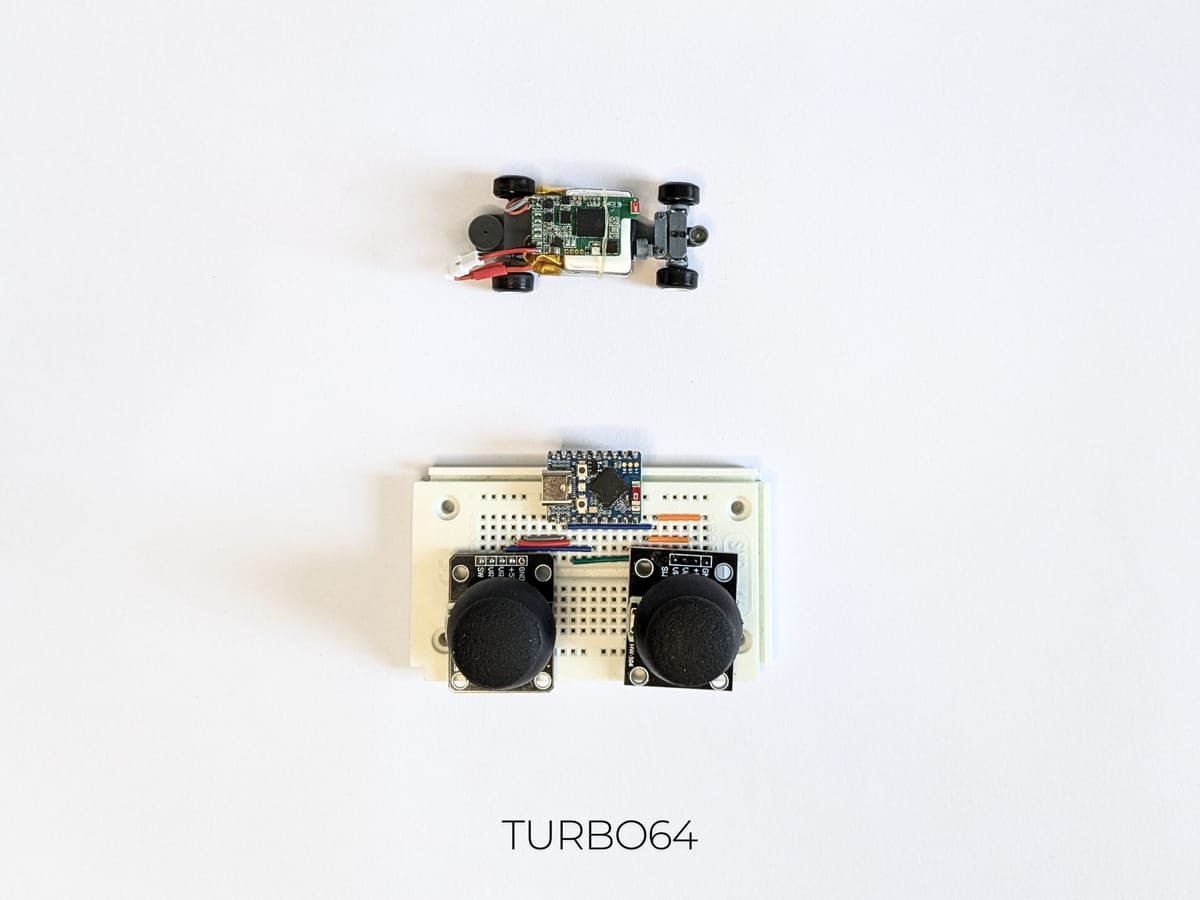
In this guide, I will show you how to convert almost any Hot Wheels or other 1/64 scale diecast cars into an RC car. At the end of this guide, you can download the files needed for 3D printing. If you don't have a 3D printer, you can order all the required printed parts and other components, including electronics, from our online store.
For this build, we’ll use a belt instead of gears, similar to high-level RC cars in larger scales, bicycles, and other machines. To understand how it works, check this article https://www.tec-science.com/mechanical-power-transmission/belt-drive/power-transmission-of-a-belt-drive/. Since there isn’t a real drive belt for 1/64 scale cars, we’ll replace it with an elastic band. Belts work great for larger scales and even in model trains, so why not use them for Hot Wheels and other 1/64, 1/43 cars?
What You Will Need
Tools:
The tools required depend on the car you want to convert. For some cars, only screwdrivers are necessary. However, converting Hot Wheels requires a few additional tools:
- Screwdriver, size 00 and 000
- Power drill with a 5mm bit (to "open" Hot Wheels cars)
- Dremel tool to clean the car body
- Tweezers
- Flush cutter
Hardware:
We designed this kit to be as simple as possible, requiring just five components, all available in our online shop or from marketplaces like Aliexpress:
- 4 x 1mm x 2mm x 1mm sealed bearings
- 2 x 1/64 scale wheel sets (optional)
- 10 x M1.0 x 6mm screws
- 10 x M1.0 x 10mm screws
- 1mm axle
- Elastic band (6 – 6.5 mm / 1/4")
Electronics for the Car (Controlled from a Phone/Computer):
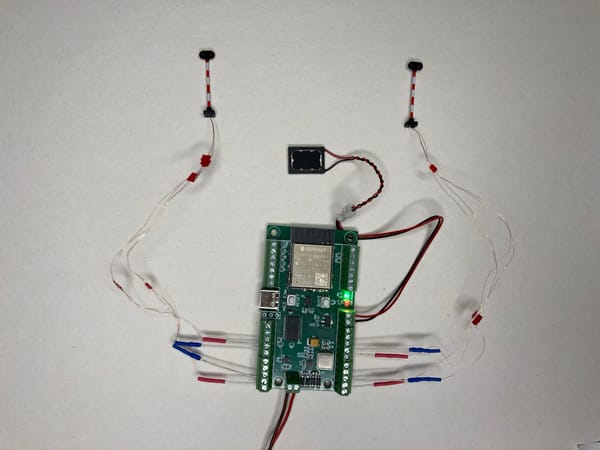
We’ll use a Loco.Engineering RC car board, which includes everything you need to build an RC car. It features a gyroscope, audio amplifier for sound, and an open-source firmware you can modify (based on Arduino and ESP32). It can also be controlled from any device with WiFi. What will you need:
- 1 x Loco.Engineering RC car module
- 1 x 100-150 mAh Li-poly battery
- 1 x 1.7g rotational servo, 5V
- 1 x DC motor (14.5-15mm x 8mm x 6mm, 30,000 rpm, 3.6 - 4.2V)
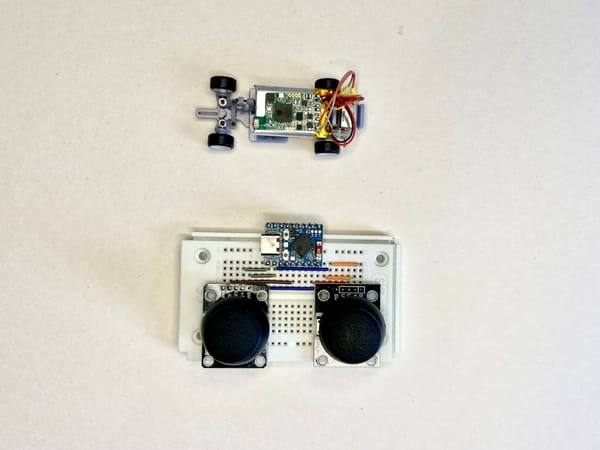
Optional Electronics for a Remote Controller:
- 2 x joystick modules
- ESP32S3/ESP32C3 development board
Steps to Build Your RC Car
1. Open the Car
Remove the bottom of your car. For Hot Wheels, drill out the joints as shown in the photo below.
2. Assemble the Conversion Kit
Download the 3D models linked at the end of this guide and print the parts. The kit has only five printed parts and is simple to assemble without requiring engineering expertise.
3. Front Wheels and Steering
- Insert two 1mm x 2mm x 1mm bearings into the front wheel holders
- Insert M1.0 x 6mm - 10mm (depends on wheels you use) screws through the bearings and attach both wheels.
- Insert the bearings with wheels into the holes in the front wheel holders.
- Place the front wheel holders into the main body.
- Install and lock the top front wheel holder.
- Mount the steering arm using two M1.0 x 6mm screws.
- Install the servo and connect it to the steering arm.
4. Rear Wheels and DC Motor
- Cut the 1mm axle to the required width.
- Insert a bearing onto the axle.
- Insert the axle through the first bearing (file it slightly with sandpaper if needed).
- Add the second bearing to the other side of the axle.
- Center the axle.
- Place a large pulley onto the axle.
- Attach the rear wheels to the axle.
- Solder wires to the motor.
- Insert the motor into its position.
- Attach the small pulley to the motor.
- Connect the pulleys with an elastic band.
- Install the rear wheel holder onto the main body with four screws and adjust the length to fit your car body.
5. Electronic Connections
- Solder the DC motor wires to the controller board.
- Cut and solder the servo wires to the controller board.
- Solder the battery wires to the controller board.
- Attach a charging connector to the controller board.
- Secure the controller board and battery with a band.
6. Test the Setup
- Power the charger.
- Ensure the green LED on the board is on.
- Open the WiFi networks list on any device and connect to “rc_xxxxx”.
- Open
https://rc.localin any browser. - Test the car by moving it forward/backward and turning left/right.
- If everything works fine, proceed to mount the car body.
7. Install Inside the Car
Hot Wheels cars typically have two types of bottom attachments:
- By two metal joints.
- By one metal joint and a plastic connector at the rear.
Depending on your car type, glue magnets to the main body and the bottom with the wheels that you built.
Final Step
Your RC Hot Wheels car is now ready! Build more and race with your friends. Loco RC car boards allow up to 25 users to race simultaneously.
Feel free to contact us at hey@loco.engineering if you have any questions or feedback.
Files for Printing
Note: All files listed below are for private use only. Redistribution or sale is prohibited.

